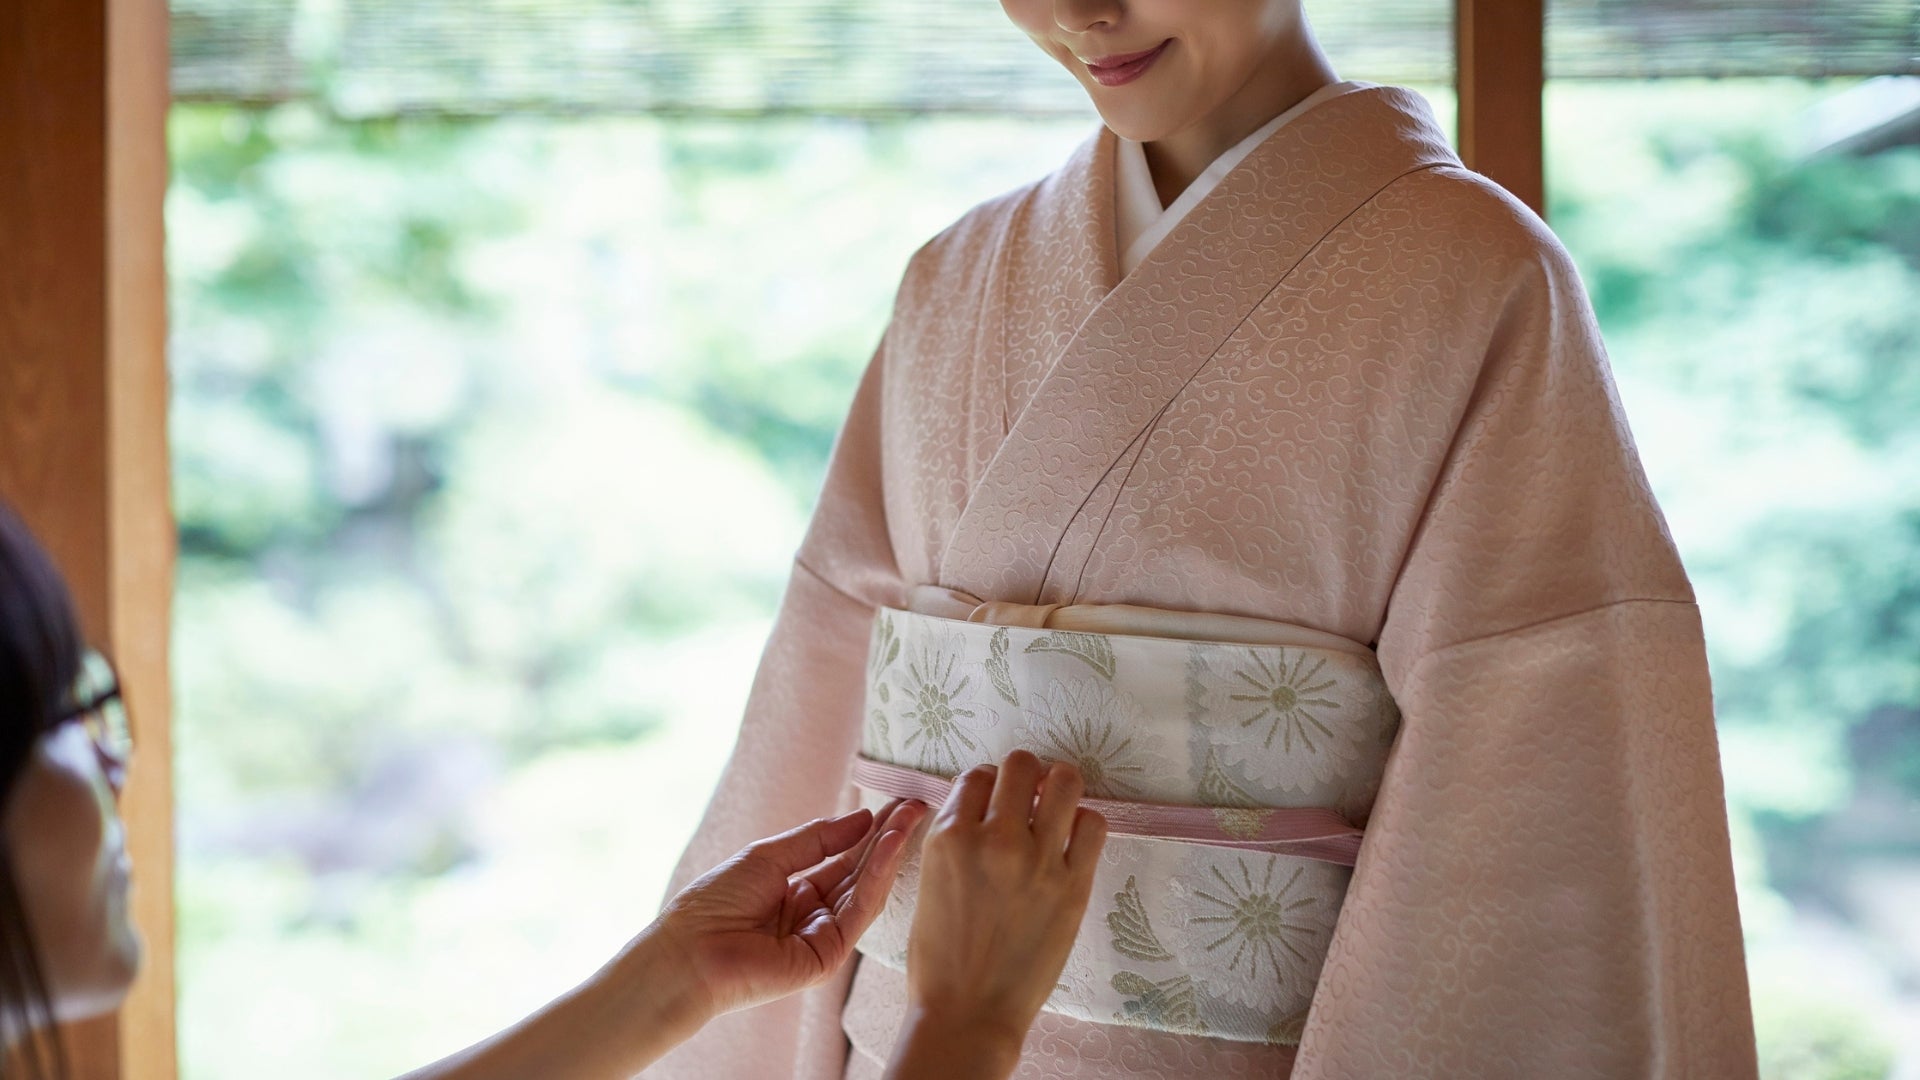
Got a kimono in your hands, but the belt is leaving you stumped? You're not alone. The obi, the iconic belt of traditional Japanese clothing, is much more than just a tie. It structures the silhouette, conveys a message, and adds elegance to the kimono. This clear and detailed guide will teach you step by step how to tie a kimono belt with precision, respect, and style.
Summary
- Introduction to the Kimono Belt (Obi)
- Why Tying a Kimono Belt Correctly is Essential
- Prepare the kimono and belt before tying
- Detailed steps for tying a traditional kimono belt
- Tips for beginners: how not to make mistakes
- Tying a Children's Kimono Belt: What You Need to Know
- Popular Belt Knot Styles and When to Wear Them
- Expert tips for a perfect kimono belt every time
- FAQs: Frequently Asked Questions About Kimono Belts
- Conclusion: Master the art of wearing a kimono with style
Introduction to the Kimono Belt (Obi)
The kimono is one of the most emblematic pieces of Japanese culture. While the cut is simple and straight, it is the Obi , the decorative and structuring belt, which gives the whole its charm and balance. Tying a kimono belt correctly is respecting an art passed down for centuries.
History and symbolism of the belt
The obi has existed since the Heian period (794–1185), when it was simply a strip of fabric. Over the centuries, it has evolved into a sophisticated accessory, rich in patterns and meanings. Today, the way an obi is tied varies depending on gender, age, occasion, and even the season. A married woman will not wear the same knot as an unmarried girl, for example.
The different types of Obi
There are several types of belts, suitable for different occasions:
Formal Obi (Fukuro, Maru, etc.)
- Fukuro Obi: Used for ceremonies, often long and decorated with embroidery.
- Maru Obi: Very formal, often worn with the wedding or official ceremony kimono.
Casual Obi (Hanhaba, Nagoya)
- Hanhaba Obi: Narrow belt, perfect for yukata (summer kimono) or everyday use.
- Nagoya Obi: Easier to tie, with a predefined part for the knot.

Why Tying a Kimono Belt Correctly is Essential
Cultural and aesthetic significance
In Japan, the way a kimono belt is tied says a lot about the wearer. It influences social perception, politeness, and elegance. A poorly tied obi can not only be frowned upon, but it also throws off the entire silhouette.
Fit, comfort and support
A well-tied obi ensures that the kimono stays in place all day long. It helps maintain posture, protect movement, and emphasize the silhouette. It's also a key element in preventing the garment from becoming misshapen or loose.
Prepare the kimono and belt before tying
What you need: kimono, obi, and accessories
Before attaching anything, make sure you have:
- A clean, well-ironed kimono
- An Obi belt suitable for the occasion
- An Obi-ita (rigid plate to avoid creases)
- Obi-makura (knot cushion), Obi-jime (rope) and Obi-age (decorative scarf), if necessary
Positioning the kimono on the body
The kimono is always worn crossed left over right (right over left being reserved for the deceased). Adjust it so that it covers the ankles, then secure it with an inner belt ( koshihimo ) before moving on to the obi. Check that the collar forms a nice V at the front and covers the neck well at the back.
Detailed steps for tying a traditional kimono belt
Tying a kimono belt requires precision, but with a little practice, the movements become smooth. Here are the key steps for tying a classic knot.
Step 1: Adjusting the kimono
Start by putting on the kimono and crossing it correctly: always the left side over the right. Use an inner belt ( koshihimo ) to maintain this position. Make sure the length is equal at the front and back and that the collar is fitted in a V-shape in the front, and well clear at the back of the neck.
Step 2: Wrap the belt around your waist
Place the center of the obi at your back. Wrap it around your waist twice, tightly but without restricting your breathing. Leave enough length at one end to form a knot.
Step 3: Tie the knot
There are several types of knots. The most common for women is the taiko musubi (drum knot):
- Form a loop with the long end.
- Wrap the other end around to form a square knot.
- Slip an obi-makura under the knot to give it volume.
- Add the obi-age (decorative scarf) on top and tighten with the obi-jime (decorative rope).

Step 4: Checking and Adjusting
Check in a mirror that the knot is centered, flat, and well positioned. It should be aligned with the back and slightly rounded if you are using an obi-makura . Adjust the decorative accessories as needed.
Tips for beginners: how not to make mistakes
Simple techniques to master
- Use a full-length mirror to see the entire kimono and belt.
- Start with a hanhaba obi , which is narrower and easier to handle.
- Secure the folds with clothespins while learning.
Common mistakes to avoid
- Never cross the kimono right side over the left (reserved for funerals).
- Avoid tightening the Obi too much: this hinders breathing and distorts the kimono.
- Do not let the ends of the knot hang loosely, they must be symmetrical.
Bonus tip: Practice with a wide fabric belt or an old scarf before using a real obi. This helps you master the movements without damaging the precious fabric.
Tying a Children's Kimono Belt: What You Need to Know
Choosing the right belt
For children, we prefer simple and practical models, such as the tsuke obi (pre-tied belt) or a hanhaba obi . They are light, easy to put on and above all comfortable for small bodies on the move.
Simpler and more secure process
The process is deliberately simplified:
- Position the kimono and secure it with a soft inner belt.
- Tie the Obi with a single, simple loop, without any rigid accessories.
- Secure everything with a decorative elastic band or a small, soft obi-jime.
Safety comes first: avoid bulky knots or rigid accessories that could injure or hinder the child's movements.

Popular Belt Knot Styles and When to Wear Them
The belt knot isn't just an aesthetic detail. It can signify social status, a special event, or even a season. Here are the most popular styles and when to wear them.

Taiko knot: traditional and simple
The taiko musubi (drum knot) is arguably the most iconic. Rectangular and flat, it is used during formal ceremonies, such as weddings or tea ceremonies. It is suitable for married women and is worn with a formal kimono and a fukuro obi .
Bunko knot: feminine and elegant
Bunko musubi is lighter, more rounded, and often worn by young women. It creates a butterfly effect and is often worn with yukata or kimonos. Ideal for parties, festivals, and semi-formal occasions.
Modern knots for contemporary outfits
Reimagined styles like the chocho musubi (bow tie) or the hana musubi (flower bow) add a unique touch. Perfect for more casual or creative styles, they are often made with hanhaba obi or pre-shaped belts.
Expert tips for a perfect kimono belt every time
A well-tied belt stays put all day, flatters your figure, and stays comfortable. Here are the tips professional dressers use every day.
Useful accessories for a perfect fit
- Obi-ita: a rigid board slipped under the Obi to keep a smooth surface.
- Obi-makura: small, discreet cushion to give volume to the knot.
- Obi-jime: Decorative rope that secures the knot and adds a touch of style.
How to keep your belt in place all day
- Tighten the Obi firmly but without discomfort, to prevent slipping.
- Use non-slip strips on the inside if the fabric is too smooth.
- Avoid sudden movements or twists that could deform the knot.
Pro tip: Always keep a pair of small flat-nose pliers handy. They allow you to discreetly realign a knot without having to start all over again.
FAQs: Frequently Asked Questions About Kimono Belts
1. How long does it take to learn how to tie a kimono belt?
With practice, a simple knot can be completed in 15 to 20 minutes. More complex knots may take several attempts.
2. Can I wear an Obi without the accessories (obi-ita, obi-makura)?
Yes, but these accessories make them easier to wear and improve the look. For occasional wear, they are recommended but not mandatory.
3. What is the difference between a man's and a woman's Obi?
The men's obi is narrower, more sober (often black or plain) and is tied more simply at the back or on the side. The women's obi is wider, decorative and stylized.
4. Can you wash a kimono belt?
Most Obis should not be machine washed. Take them to a dry cleaner or hand wash if the fabric allows it.
5. Where to buy a good kimono or kimono belt?
You can find them in Japanese specialty shops like Kimonorie or in traditional thrift stores.
6. Can I tie an Obi myself without help?
Yes! With a mirror and a little practice, you can definitely tie an obi on your own, even the most complex models.
Conclusion: Master the art of wearing a kimono with style
Tying a kimono belt isn't just a technical skill—it's an act of respect for a culture, a skill, and yourself. Whether you're a beginner or an avid sash user, each attempt brings you closer to a more fluid and elegant style.
Thanks to this guide, you now know:
- What type of belt to choose depending on the occasion
- How to properly prepare the kimono and accessories
- The precise steps to make a strong and aesthetic knot
- Mistakes to avoid and tips for success
With regular practice, you'll find that tying an obi becomes as natural a habit as tying shoelaces. Respect the rules, adapt them to your style, and above all... wear your kimono with pride.
Want to explore more? Discover regional kimono styles, or try modern variations by incorporating the obi into Western clothing—Japanese fashion knows no bounds!
It's up to you, and may your kimono belt be as beautiful as it is symbolic.


